Showing posts with label DIY. Show all posts

Wednesday, May 9, 2012

DIY Paper Puppy


Adon still sleeps in our room right now and probably will until he's no longer nursing. So, even though Grace has her own room for at least five more months, I've been wanting to start slowly making some changes and adding some boyish touches to it so it's all ready when we move him in with Big Sis. 


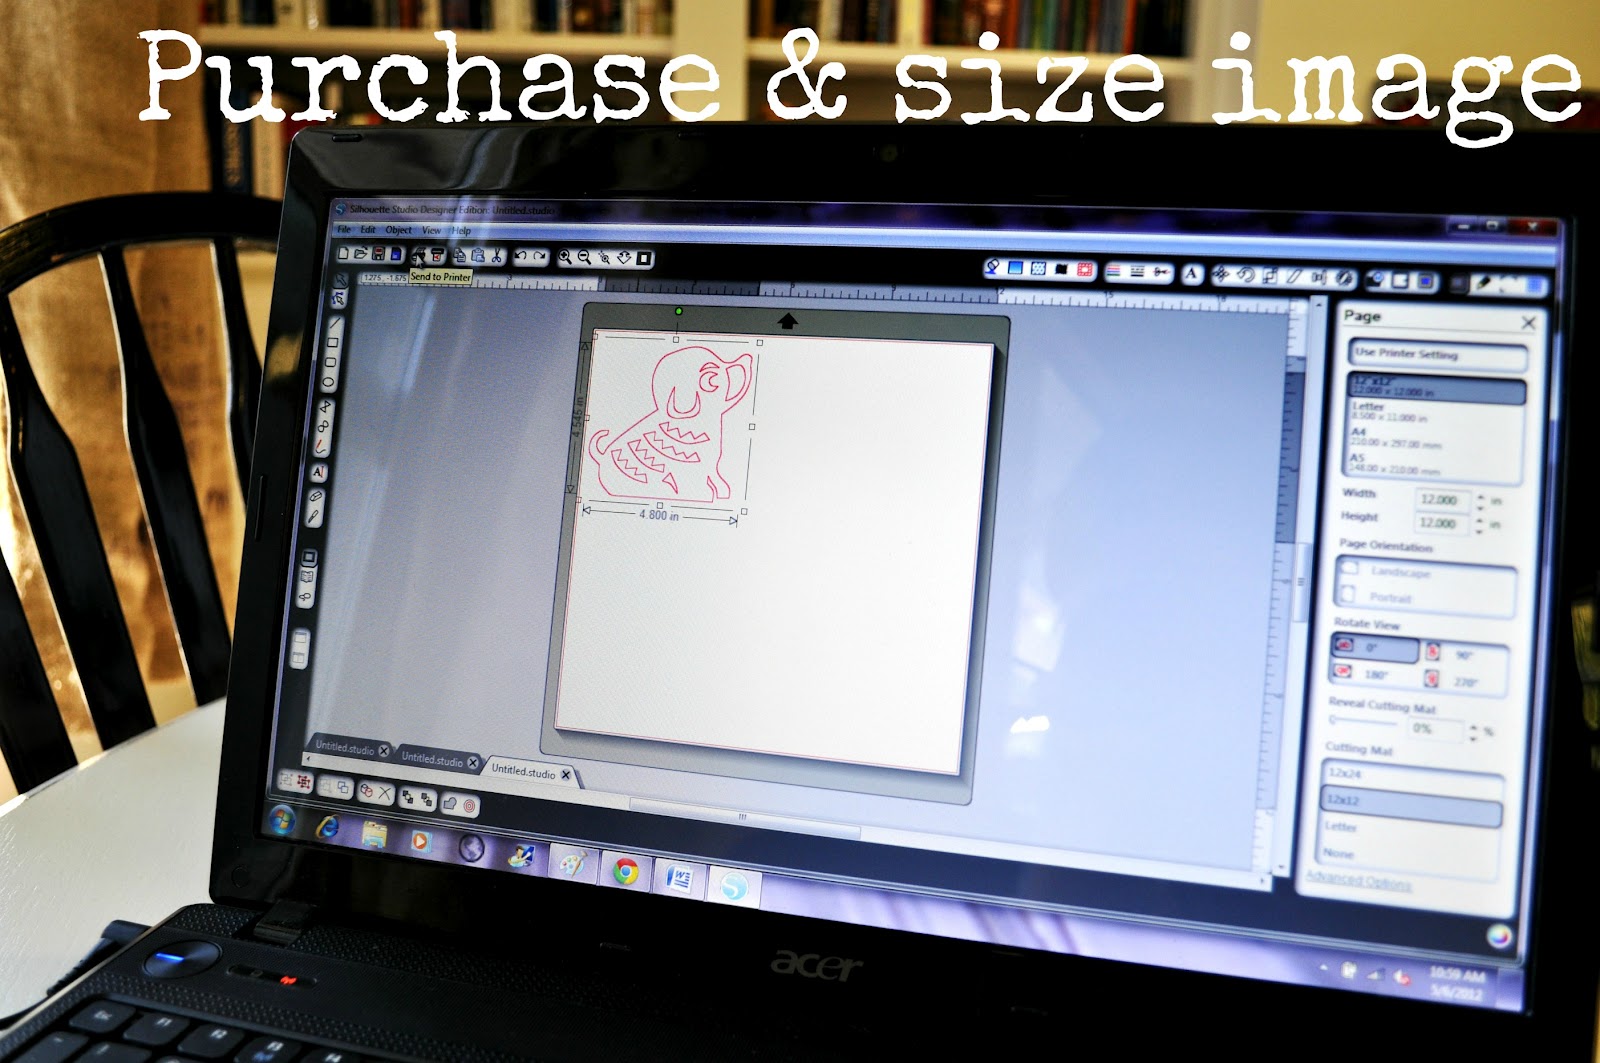
This is a super simple and inexpensive DIY project that took me less than 10 minutes to put together with my silhouette machine. I have already used the machine a ton since getting it a few weeks back. 


Done! Just like that. I love doing this kind of stuff to decorate the kids' room.

Wednesday, July 6, 2011

The Nursery: Curtains


Grace's curtains are just one more DIY project I really enjoyed working on. I am naturally more drawn to neutrals, and I love white, so it was a fun stretch to incorporate a lot more color into her room. One way I did that was to make her curtains myself. 


I have always liked the style of Pottery Barn's Ribbon-Tie Curtains. And one perk of this curtain style is that it required less fabric than full length panels would have. Each panel is 36 inches wide and 63 inches long.


Does anyone else out there love Amy Butler's fabric designs? I picked out this fabric for Grace's room months before I had her and then ordered it long after she was born and we'd moved into our new place. I just loved that there was grey and green with just a hint of pink. Call me old lady, but I do love floral prints, at least the more modern, large designs.


The pink ties were kind of a happy accident. When I measured to order the fabric, I only thought about the front ties, not realizing until after I'd cut everything out that I would need to sew four fabric strips for each window panel. Measure twice, cut once is a lesson learned!! But I do like how they turned out and the pink is just an added bonus, some cheap fabric I'd had on hand.


The rod was a $2 find from Ross that I spray painted.

And I really have to give credit to my mom, because this is just one of a couple projects she helped me with as I put Grace's room together. I'd been having a lot of trouble with my sewing machine just before making these and I was fearful of ruining the fabric somehow. I did not want to have to spend more, so it was Mom to the rescue. She loaned me her old one, and stayed for a couple hours to make sure I didn't have any other problems getting things going. I am still such a beginning sewer! And her sewing advice over the phone to me is like my computer advice over the phone to her--it's just so much easier to explain and show someone things in person!

Thursday, June 30, 2011

The Nursery: Reading Corner

A few of my favorite things are all tucked into this one little corner of Grace's room.


One of the reasons putting her room together was so much fun for me was because I got to learn some new skills and practice some old ones along the way: re-do quite a bit of furniture, sew some stuff, and build with a saw. Maybe you can relate...I am always seeing things and thinking, "I think I could make that for cheaper...if I only knew how". And I am telling you, if I can do it, then so can you!!


This time around, I enlisted the help of my mom who has a talent for working with wood. When we were kids she was often out in the garage, working on her saw, making creative stuff, and hosting bazaars to showcase and sell all that she made by hand...but it had been a long time (something like 15 years) since she'd made anything new. It was a fun for me to spend an afternoon learning from her.


My inspiration were these adorable, but expensive shelves from Pottery Barn Kids. They're originally anywhere from $34 to $59 dollars--each!

Collector's Shelves

We sketched out a template for the sides, figured out all the measurements and then hit the local lumber supply store to get what we needed. Mom fired up the scroll saw, and we set to work. 

I realized even in writing this that you could easily get some scrap lumber for a project like this, it just didn't cross my mind at the time to ask around for some. But even after purchasing all the supplies we needed, each shelf cost just under $12 to make. 


After she showed me how not to lose any fingers, it was my turn to give it a shot. I got to learn how to use a scroll saw and a drill press. I am honestly really excited about this--it was a lot of fun, and something I have wanted to do for a long time. I think it's the idea that you really can hurt yourself with this kind of equipment that kind of scares me, so I was really appreciative that my mom was there to step-by-step show me how to work both machines. Now I feel like I know what to do and can tackle other projects all myself if I want to.


Then came all the gritty details: filling holes with wood putty and cracks with wood glue, sanding, priming and painting.


After a friend saw the shelves, she told me she found a template on Anna White's website for something similar. So, if you like this look and want to make some similar shelves, but need step by step instructions, let me send you over there for help.

The shelves are now filled with her daddy's old kid books, special stuffed animals from Baba (my mom), baby books, and an adorable hand sewn teddy bear we got from our dear friend Shelly. 


Another favorite piece in this corner is the homemade lion face artwork. Grace's Auntie Lola created it for her as a gift (for Christmas, I think!?). The other frames are all clearance/second hand finds I spray painted and then filled.


On the chair is one of my all time favorite baby gifts--it's the vintage looking handmade quilt from my best friend's mom, Holly. Brown picked out all the fabric and couldn't have shown me more just how well she knows me and my likes. I adore it, even though it really belongs to Grace....


The fish pillow is another newer favorite because I took Grace to pick out some fabric for a little pillow I wanted to cover for her. As soon as she saw this in the store, she literally would not let go of the bolt of fabric and carried it all by herself to the counter. She LOVES fish.

And the touch lamp was a $15 clearance score from Target. I didn't even realize it had three settings until just before I had Grace, but man has it come in handy! All those first few weeks of nursing at night--I couldn't do it without a light. Believe me, I felt like we were both slow learners, but eventually we got the hang of it and this light with it's super low first setting was very helpful to have. 

We've spent a lot of time in this corner, nursing and reading and whiling away lots of close time. It's one of my favorite spots in the whole house. 


I am linking up this week with The Shabby Nest  so scoot on over there to get more home/decor inspiration!

Thursday, June 23, 2011

The Nursery: Changing Table


I found this adorable dresser while wandering through a bunch of craft booths one afternoon with my mom in Arcata. Coated in chippy oil based paint, it was a beauty with a lot of potential. I think I fell in love with it's curvy top drawer and legs. It just spoke femininity to me, and I wanted it for Grace's room. It was the first big thing I bought for her once we'd found out I was pregnant with a little girl.


I had to called the owner many times to see if it was even available. It took awhile, but eventually I was able to track her down and get what I thought was a good deal for it. She was asking $85, but sold it to me for $65. I was so excited to begin planning something for Baby Grace that I would've paid the full price if she'd really stood firm. Lucky for me, she didn't!


My mom diligently sanded it down for me. Then I primed and painted it Benjamin Moore's Chantilly Lace, fixed it up with some knobs (never really finished the pulls!) a friend had recycled to me and that was that. 


Grace's sweet little changing table looked like this, sadly, until this last April. Even though she's so big now that I don't change her on it anymore (the dresser top is only a little over 30 inches long--I had to order a shorter than average changing pad to use on it), I really wanted to finish the project. And I know I'll use it a lot more once The Mister arrives. Don't despair if you have a lot of unfinished projects--just keep plugging away until they get done. It took me 18 months to complete this. Hope that makes you feel better!


I kept looking at a large green rug for Grace's room. I really loved the idea of having a plush 8x10 rug covering the old wood floor and giving her a soft place to play. I just didn't like the price tag! The rug I kept going back to was around $500, and even though that's a great deal for a rug that size, it was still WAY out of our budget.


So, I decided to paint her changing table green instead. I popped by the hardware store and picked up a quart of Benjamin Moore's Olive Tree, came home and painted the piece that afternoon in my bedroom. Three coats later, I had a beautiful green dresser and my desire for the green rug was gone.


I found the old window frame at our local city-wide yard sale last summer. It was in bad condition--which was perfect for the look I wanted. After a little sanding, scraping, pink spray paint, and more distressing, it was done. I love how it turned out.

I added the brackets and eyelets to attach the ribbon to. The letters are actually little books from an alphabet set I picked up at Costco.


The tiered basket holds the wipe warmer (which I mainly used when Grace was teeny-tiny), diaper liners, diaper cream, regular wipes and anything else she decides to stick in there. 


Wednesday, October 20, 2010

The Nursery: Paint


I don't know about you, but sometimes I can get a little overwhelmed by all the paint choices out there. I see SO many colors that I like! I want to be able to decorate 20 different rooms, each in a different color, not just one. In this case, I knew I wanted to go with some shade of grey. I know it's a neutral, but I absolutely love the color right now. Beej and I picked out "Sweet Innocence" by Benjamin Moore. I think the folks at Ace Hardware did a pretty good job matching the paint.  


And you can't beat that price: $15 for one can. There were three left on clearance, so we bought them all. We used all of one to paint Grace's room and will use the other two when we finally get around to our own. I was a little hesitant because I've never used flat paint before, but I love how it turned out! It looks sort of like chalk, and I already appreciate the lack of shine when I'm taking pictures in there.


We painted the ceiling and a border around the top of the room using a mis-tint I got for $11. I didn't even know they can mis-tint white--what luck! I was inspired when I saw this nursery here on Apartment Therapy. The border just looked so sweet that I couldn't pass up doing the same thing. I used a slightly different technique to get the same result. I'm really happy with how it turned out. 


We did the majority of the painting two weekends ago. Last weekend I touched everything up a bit and hit all the trim. Well, we're one step closer to getting it all done. Don't you just love that with some paint and a few hours of work, a room can be totally transformed?! 

Friday, October 15, 2010

The Nursery

Baby Grace's birthday is coming up quickly, and I can't believe she's turning ONE! It really has gone by so fast. I know, I know. Sometimes I can get too nostalgic and sentimental, but I just can't get over it, and it makes me happy and sad at the same time to see her growing up.  I won't be able to call her Baby for too much longer.


Once I found out I was pregnant, I couldn't wait to hug and kiss and love on the newest little member of our family. I also really looked forward to preparing a place for the baby. But when my dad died suddenly and unexpectedly and my mom and sister moved in with us, the nesting months were filled with many other things that were more important than decorating a room. With just a little less than six weeks before my due date, we helped my mom and sister move next door, painted a ton of furniture, washed all her clothes and assembled her crib. That was about as far as we got. Once Grace arrived, elusive sleep and the busyness of caring for a baby left little time for getting projects finished. For most of Grace's first year she slept in a teeny tiny half finished room, that she shared with tons of books and craft supplies. It was definitely a bit of a disappointment {queue pity party music now please...}. Seriously though, I just had to get over it because there was a lot to be thankful for--like the reason for a new room anyway: Grace. 


When we decided to move and began looking over this last summer, I made the decision to not do anything else and just "be ok" with waiting. I didn't want to waste time and energy and money on a place we were leaving behind.


Fast forward to a month ago when we moved into our much, much larger home. Overnight, Grace got a room all to herself, at least for now. The space is large enough that we're hoping to fill it with a few more kids, Lord willing, as our family grows. So, my goal has been to finish the room for her before her first birthday. To make it a place where I really like to be, and I hope she will too as she grows. 


You get the idea of the before. Her birthday is October 26th, so that's what I'm shooting for. As renters, there are some constraints--like the wood floor that could really use some tlc but won't get any, or the fact that we're trying to do this on a cheap budget. But hey, constraints just force you to be more creative. I'm hoping you'll join me as I go about the process of transforming her nursery. I'm really happy and excited to do this and can't wait to show you how it all turns out!

Wednesday, June 23, 2010

Before & After: The Craft Desk


I LOVE Craigslist. Over the years, I have found numerous pieces on there for dirt cheap! Here's something I saw on there about, oh, two months ago now. At Beej's encouragement, I'd been looking for something that would work as a craft desk. He took me all around to check out new desks, but I just couldn't bring myself to spend that much money on something made of particle board that I knew wouldn't hold up well. Hands down, I would much rather buy something used that is solid wood but maybe needs a little tlc.

So, when I first spied this one on Craigslist, I thought, "How cute. Perfect. Love the look and the legs." And the price made my decision pretty easy. 


Some people really hate painted wood furniture...but not me! And I love white. So crisp and clean. Plus, Grace's crib and dresser are white and she shares her room with my overflowing supply of craft stuff, so I wanted it to match.


After some sanding, priming, painting, and a little distressing, I've got just a couple more details to take care of to finish it up. I kept the knobs, in part because new ones can be pricey, and I actually liked the original ones. I've since moved the piece into my craft area and after having it in there for about a month, I am so glad I got this desk. All the storage is perfect for what I need and the desk is wide without being too deep--which is great because, as I've mentioned before, this room is tiny and has to serve several purposes.


How about you? Prefer to buy new or spruce up used?


{I've linked this project to The Shabby Nest & Just a Girl--two other fun blogs showcasing lots of DIY posts where you'll get even more ideas and inspiration! Go check 'em out!}

Wednesday, June 2, 2010

How the Garden Grows


Our little square foot garden is growing, growing, growing!

I took this photo just after we planted everything on May 13th...


And this photo was taken this morning. It's so fun to see how big everything is getting. And all I have to do is watch and not water too much!


We recently added two more things to the garden:

 Mesclun Mix Lettuce. I'm hoping this will go well with the other type of lettuce I planted, something like Red Oak.


And the other addition was Sparky Mix Marigold Seeds. We heard these are great at keeping unwanted pests out of gardens. I planted them mainly around the edge of the box--not all of them. There were a whopping 315 seeds in that little package!


And look at that, they've already sprouted!


Which may be a good thing because something has seriously taken a bite out of my zucchini plant.


Any of you more experienced gardeners know what's doing this? Have any other ideas on how to keep pesky pests away from our little plot? Please, share away!
Related Posts Plugin for WordPress, Blogger...